Copy and Paste
Allow the user to copy and paste all heating and cooling installation.

Note! Native Revit “Copy” and “Paste” functions will not work properly
for elements created by the UFH Revit Plug-in.
Therefore, it is extremely important to use these functions from the UFH Revit Plug-in.
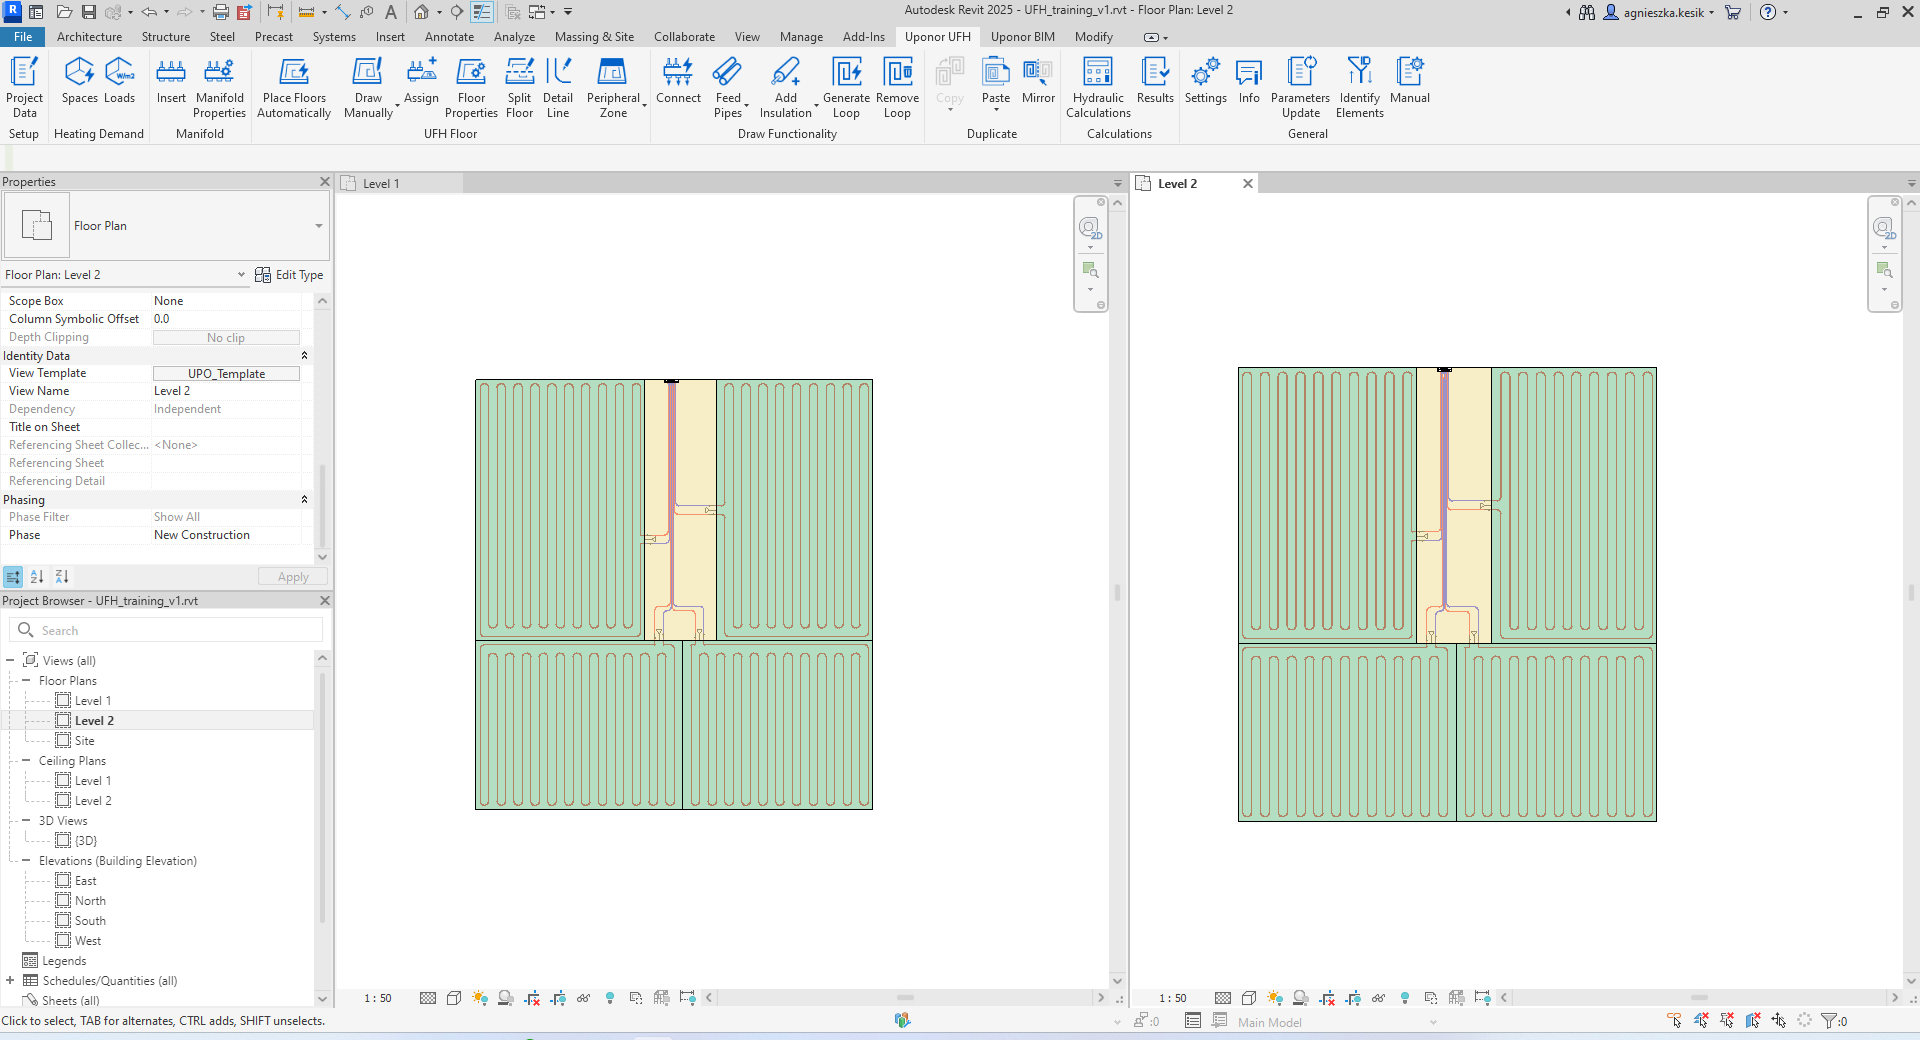
The user has two options for copying elements: In the Same View and Between Views. The user does not have to copy all installation elements. To maintain the connection between the installation, user should copy at least the manifold with floors and connectors. Pasting copied installation to new spaces will automatically assign them to new spaces. Newly created pipe systems will have a name updated to the new manifold name.

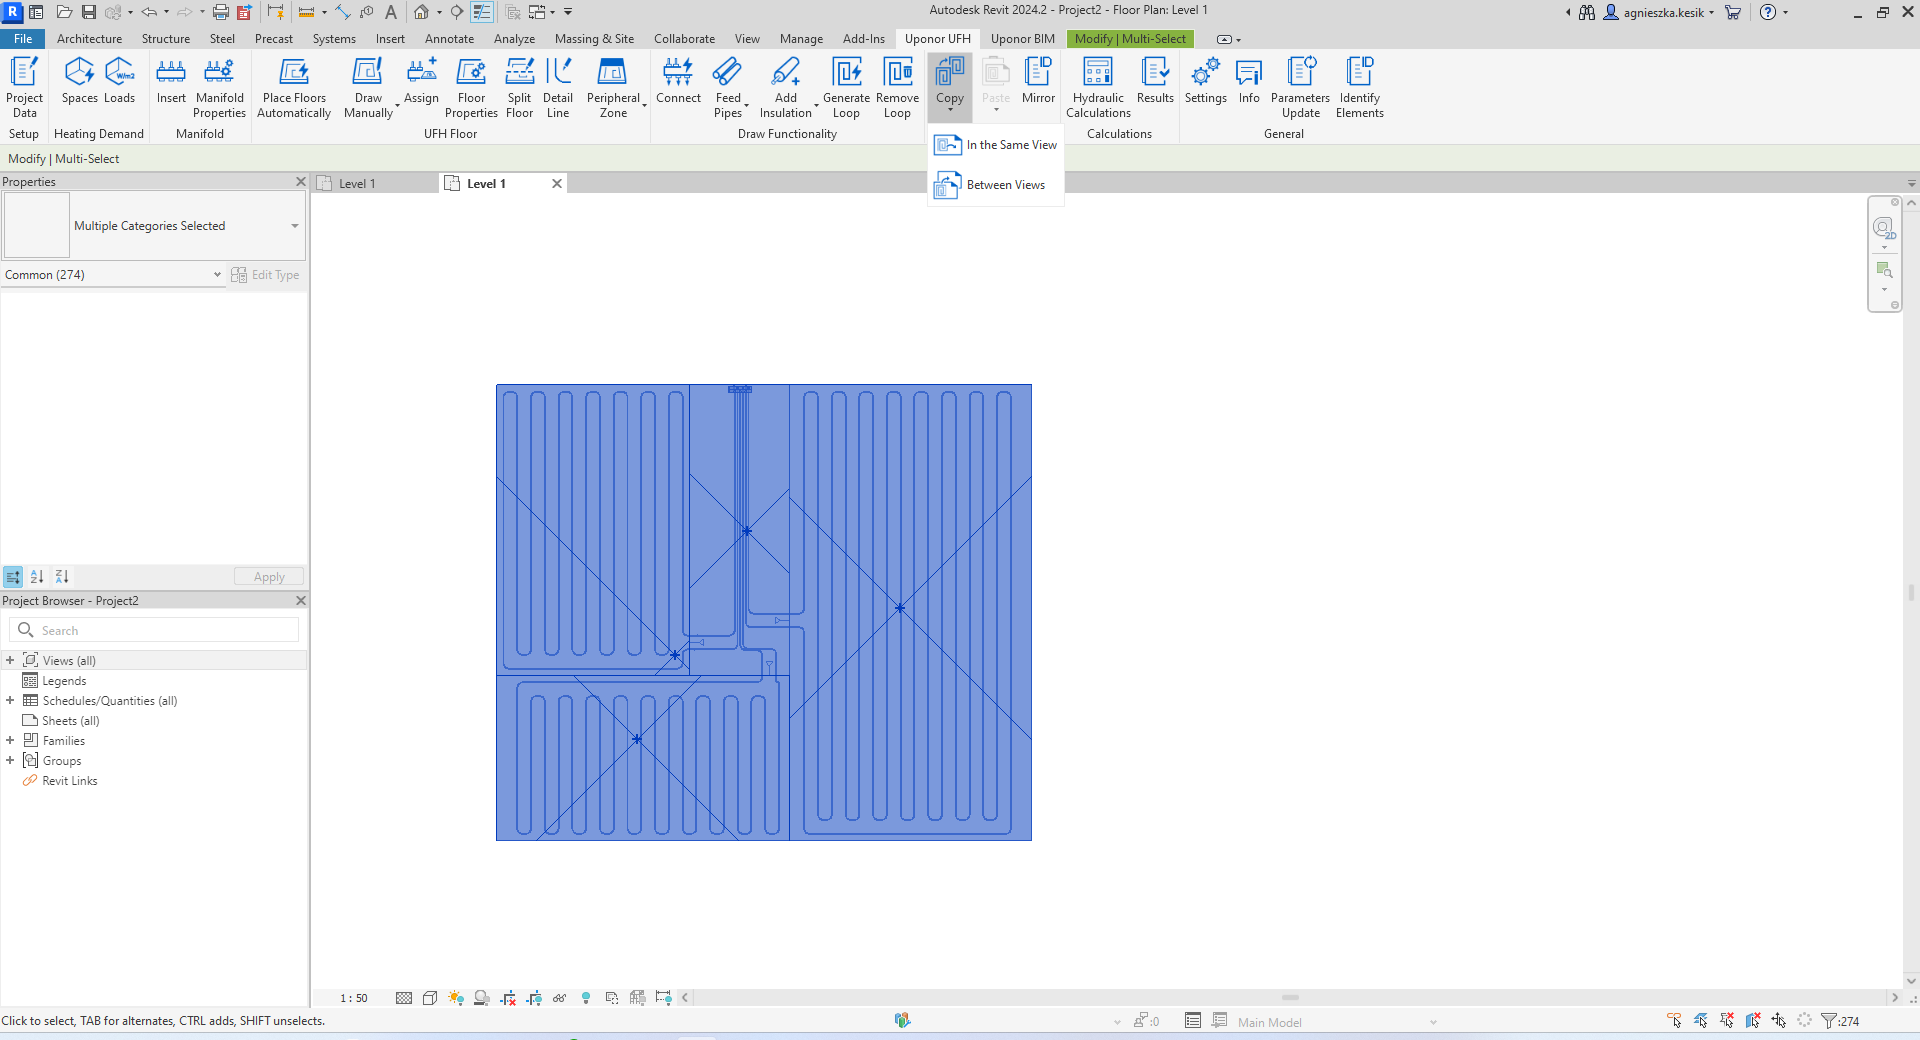
Steps to copy In the Same View
-
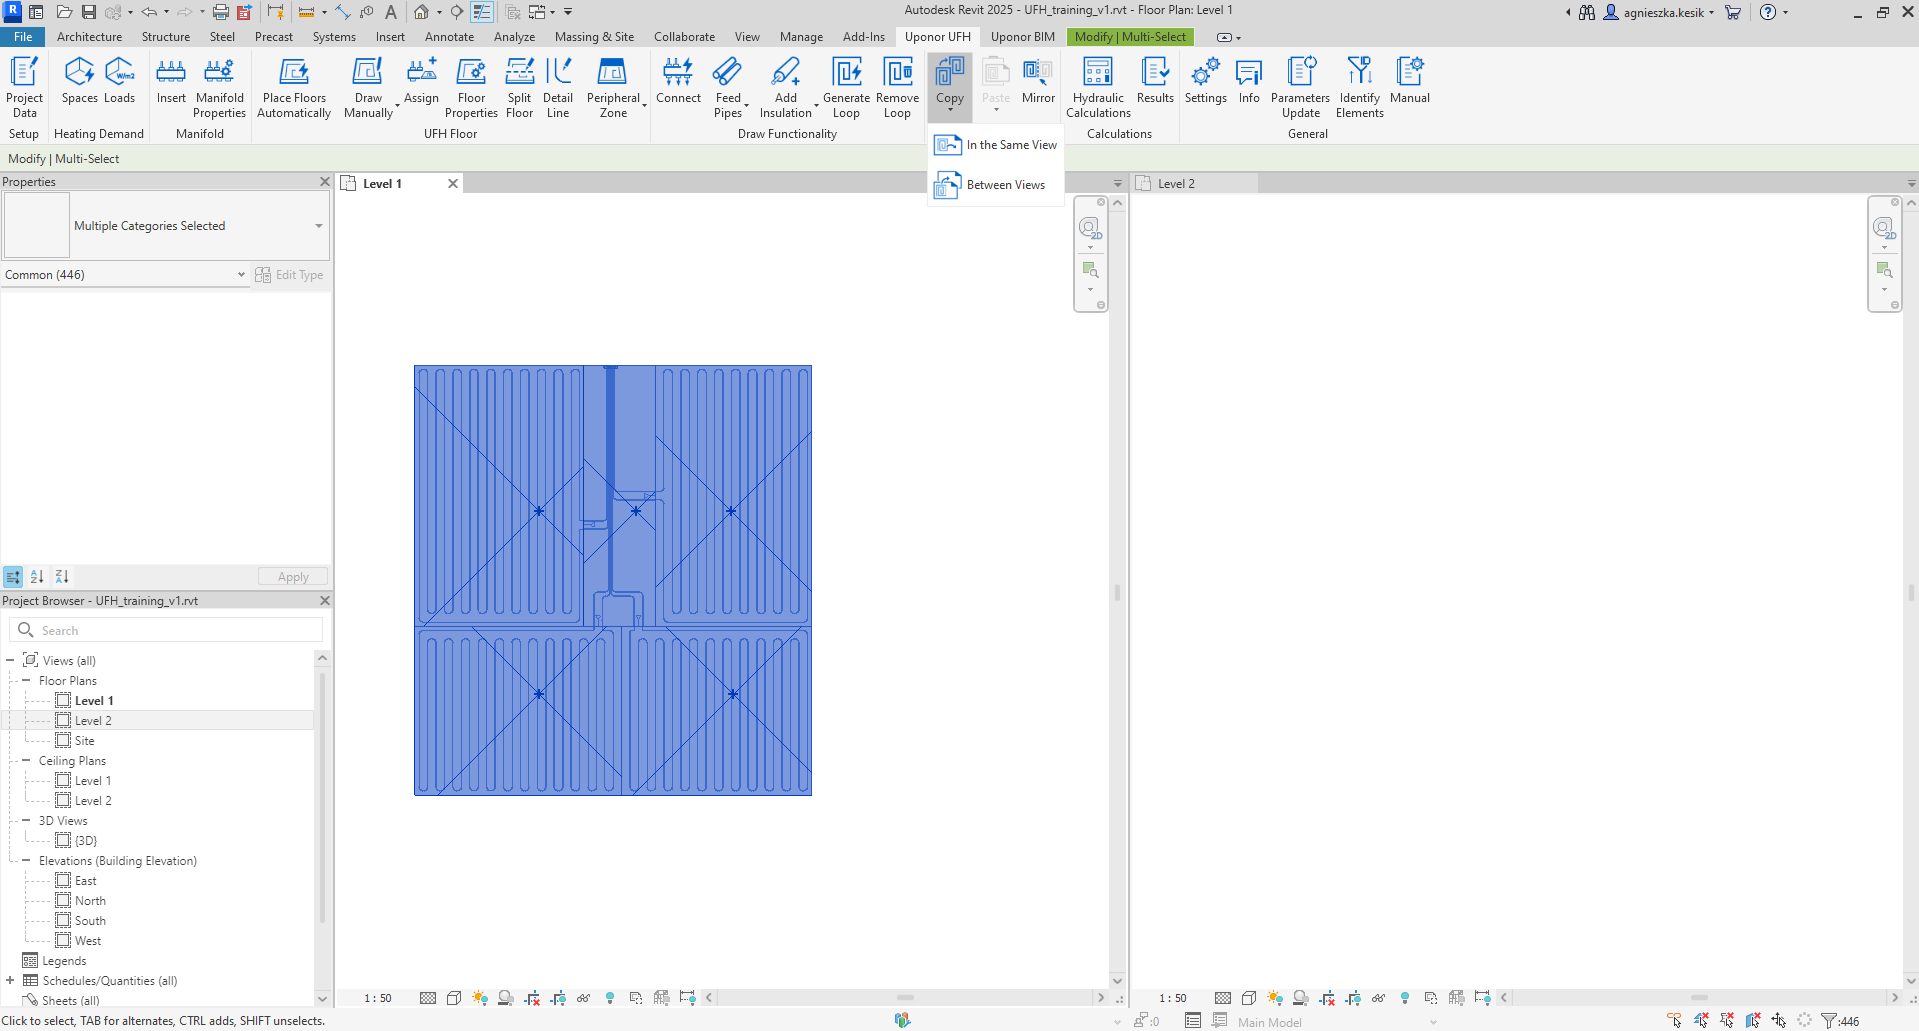
Select elements to be copied, click Copy on the ribbon and choose In the Same View.
-
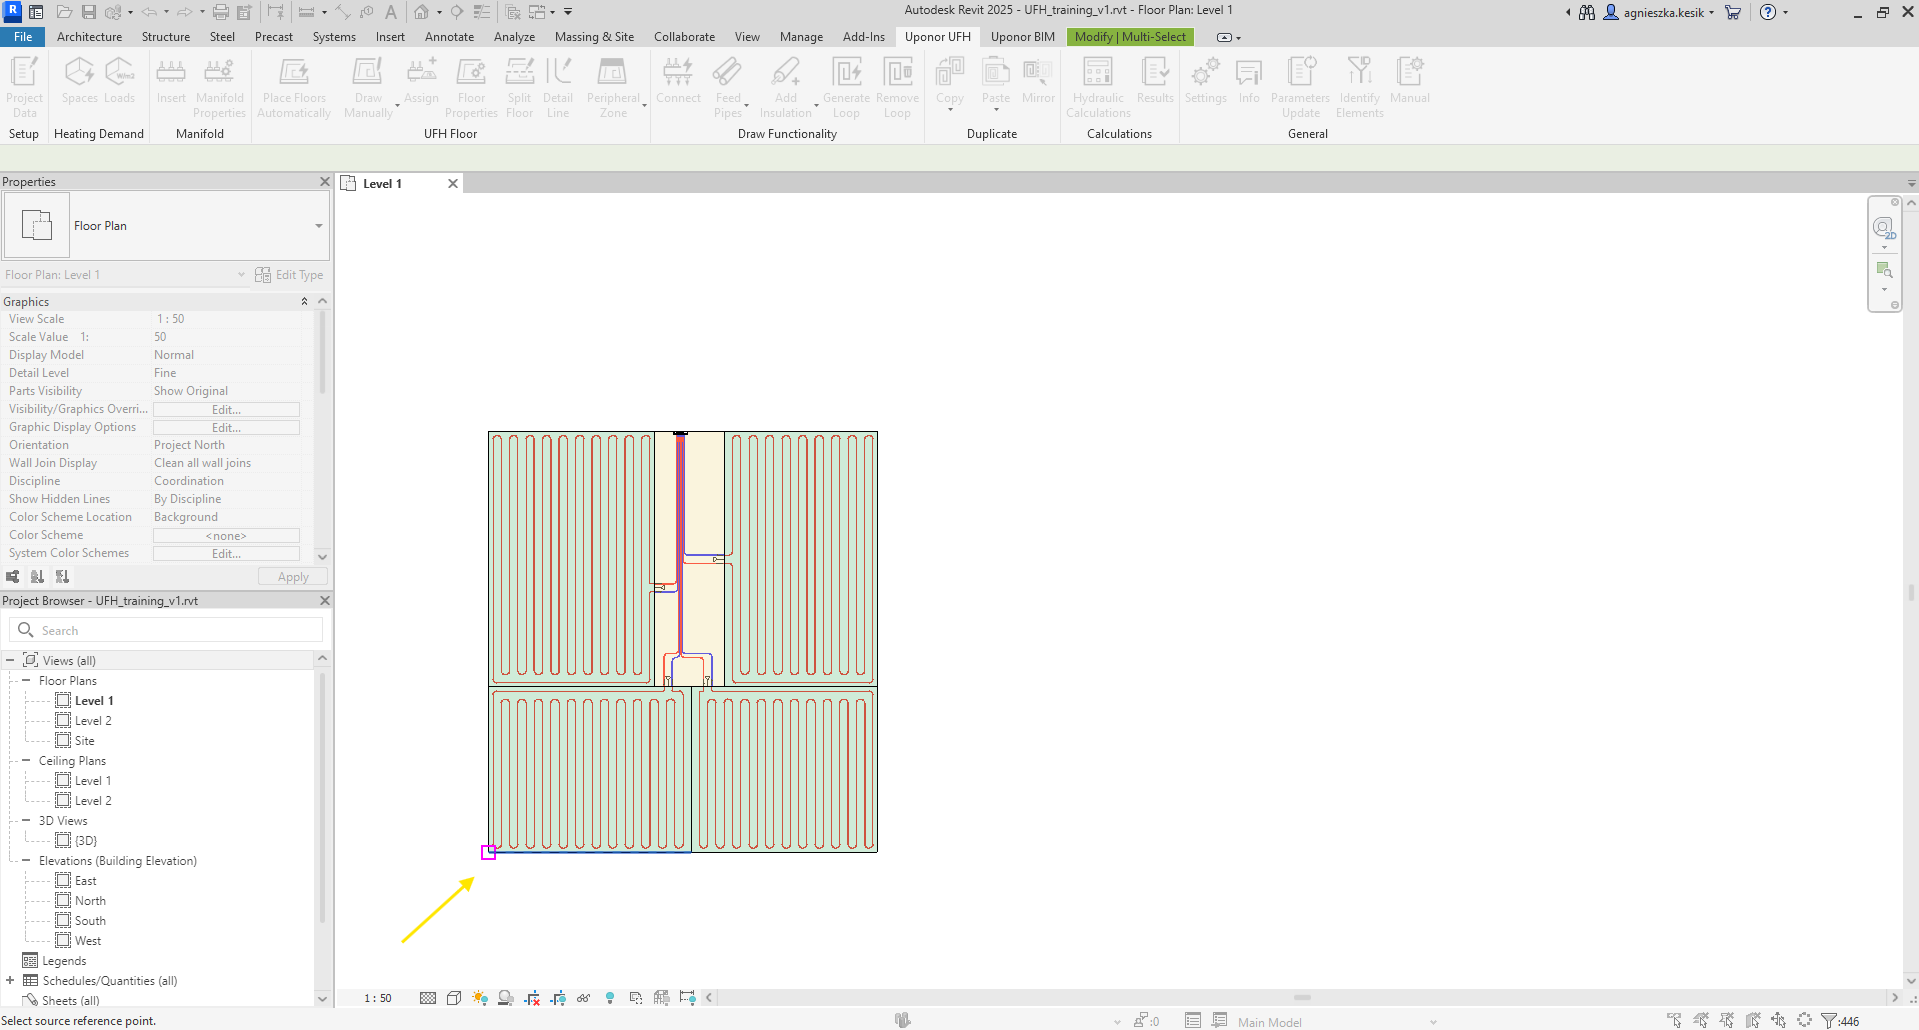
In the next step the user should select source references point.
-
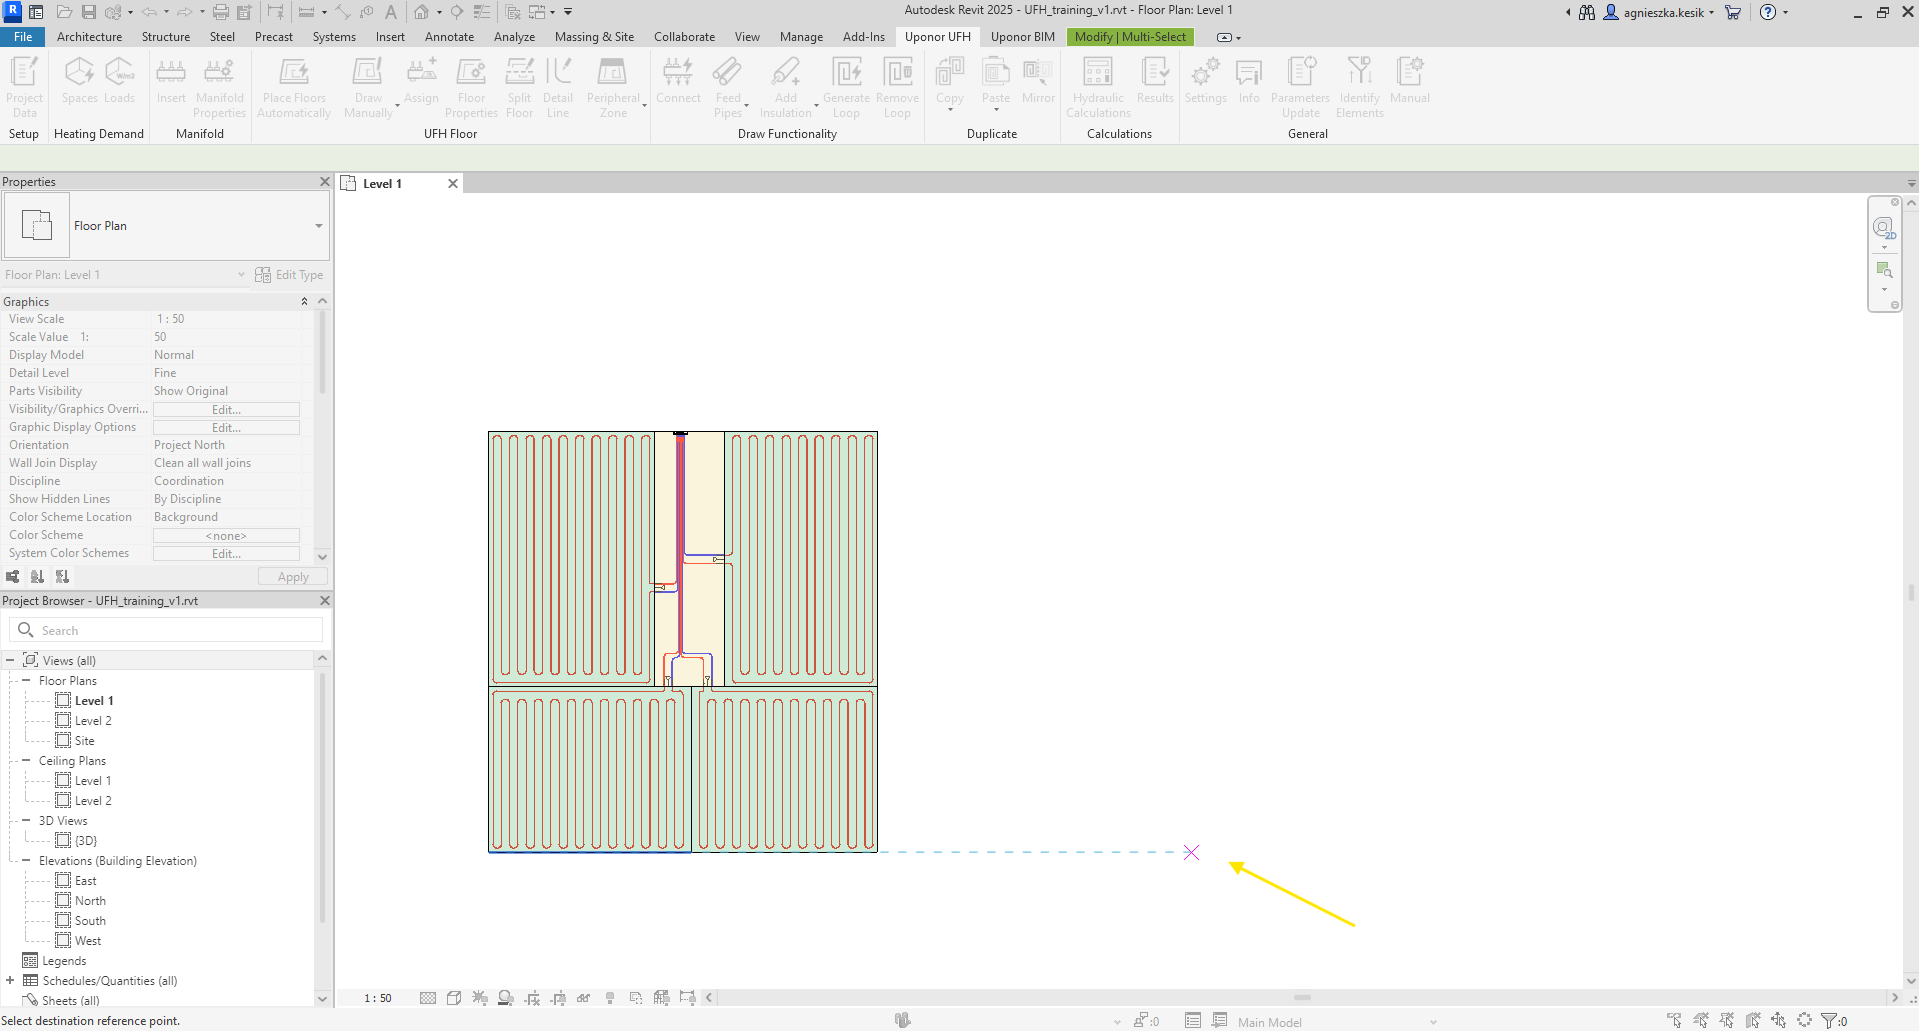
Then the user is required to select destination reference point.
-
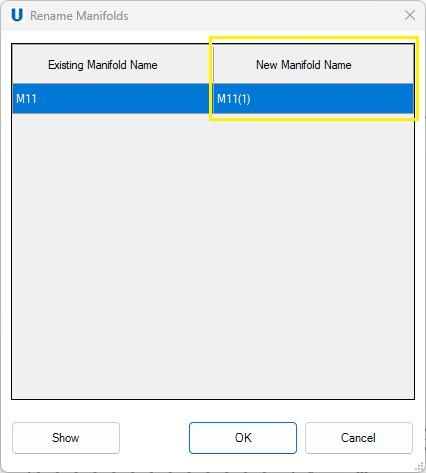
The Rename Manifolds window will appear. There the user should enter the new unique name for manifolds.
-
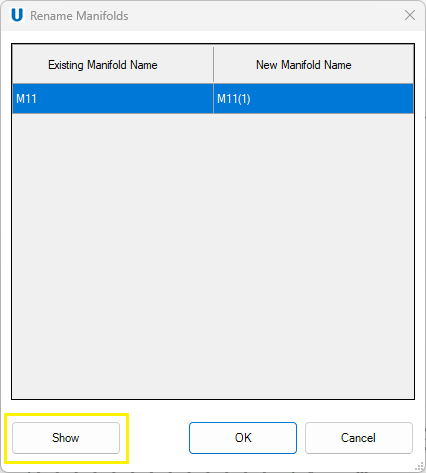
The Show button presents the location of the newly created manifold in the model.
-
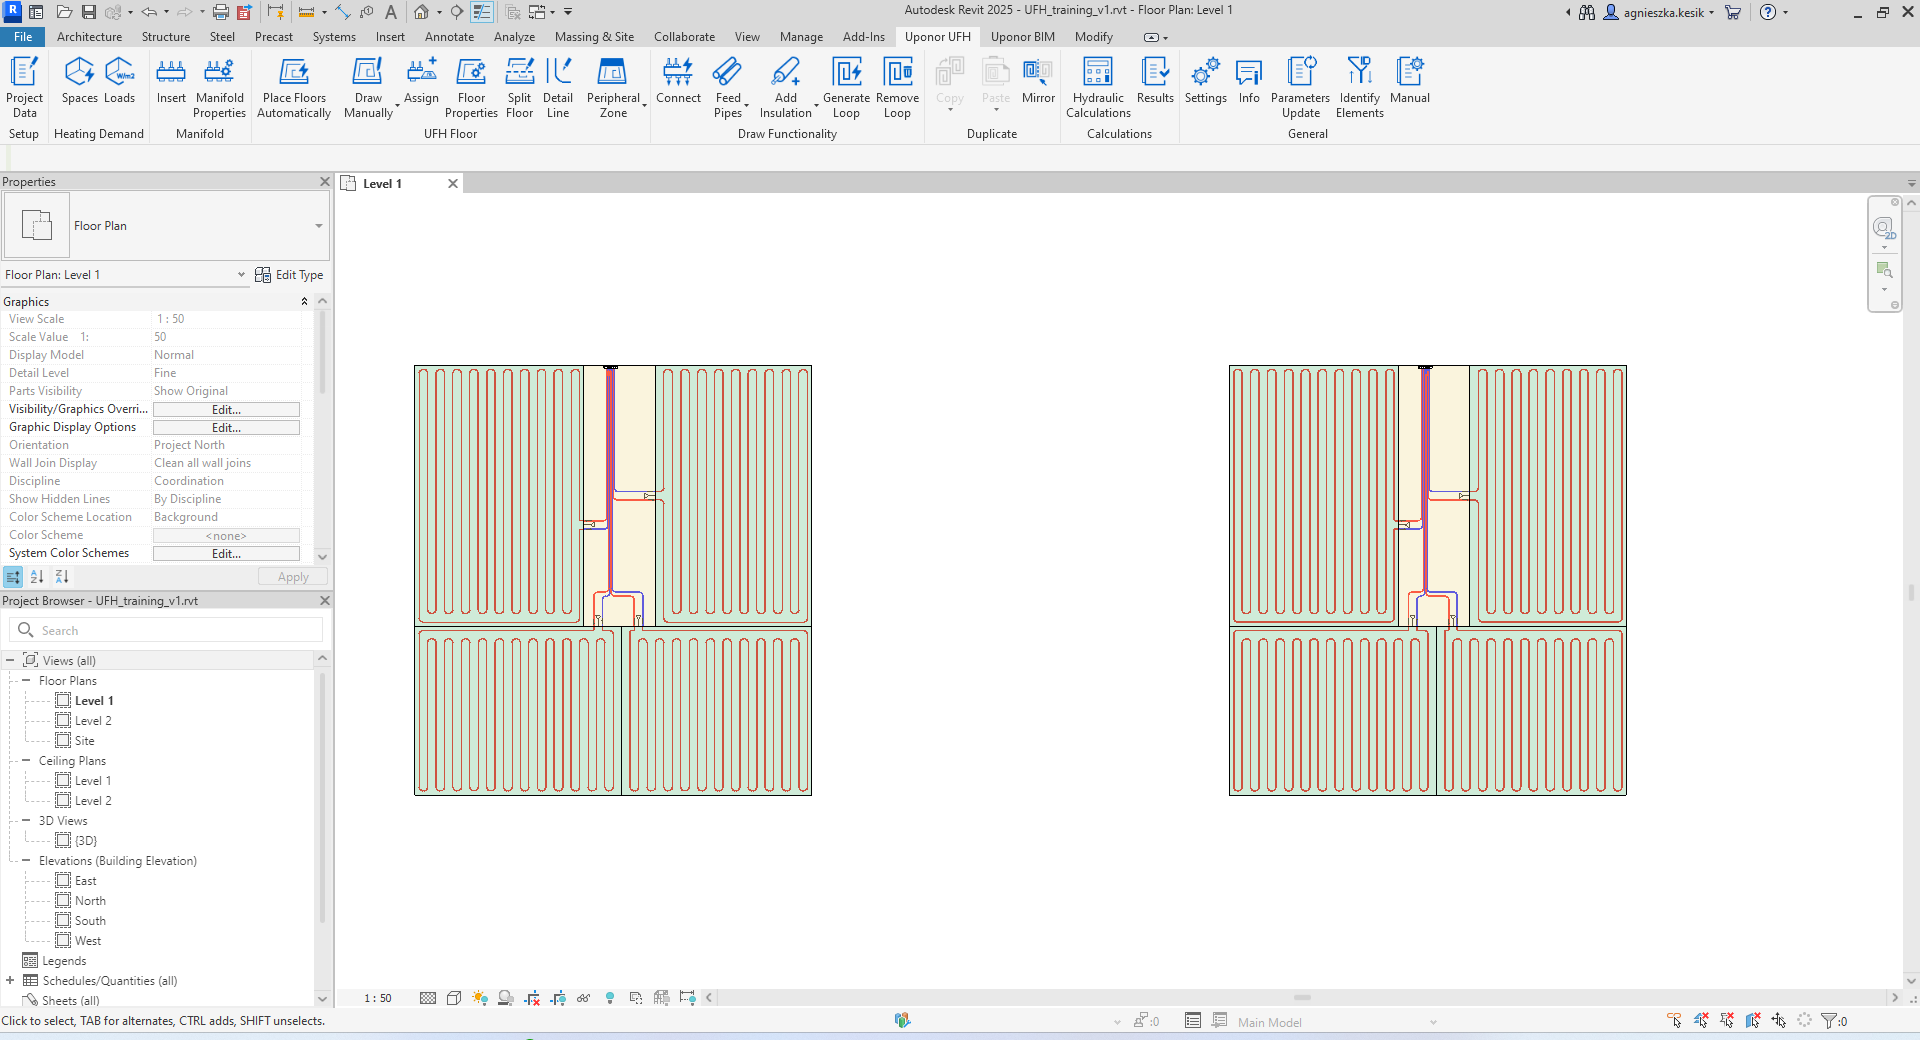
After clicking OK elements have been copied.
Steps to copy Between Views
-
Select elements to be copied, click Copy on the ribbon and choose Between Views.
-
After clicking Between Views user should select one from three options: Paste from Clipboard, Aligned to Selected Levels, Aligned to Current View.
- Paste from Clipboard – the user can open suitable view and paste copied elements to the indicated place.
- Aligned to Selected Levels – the user can choose which levels the selected elements should be copied to.
Note! If Select Level window does not open after clicking Aligned to Selected Levels, it is likely
because selection includes one of elements that cannot be copies to another level, for example: dimensions,
detail lines, notes or room tags.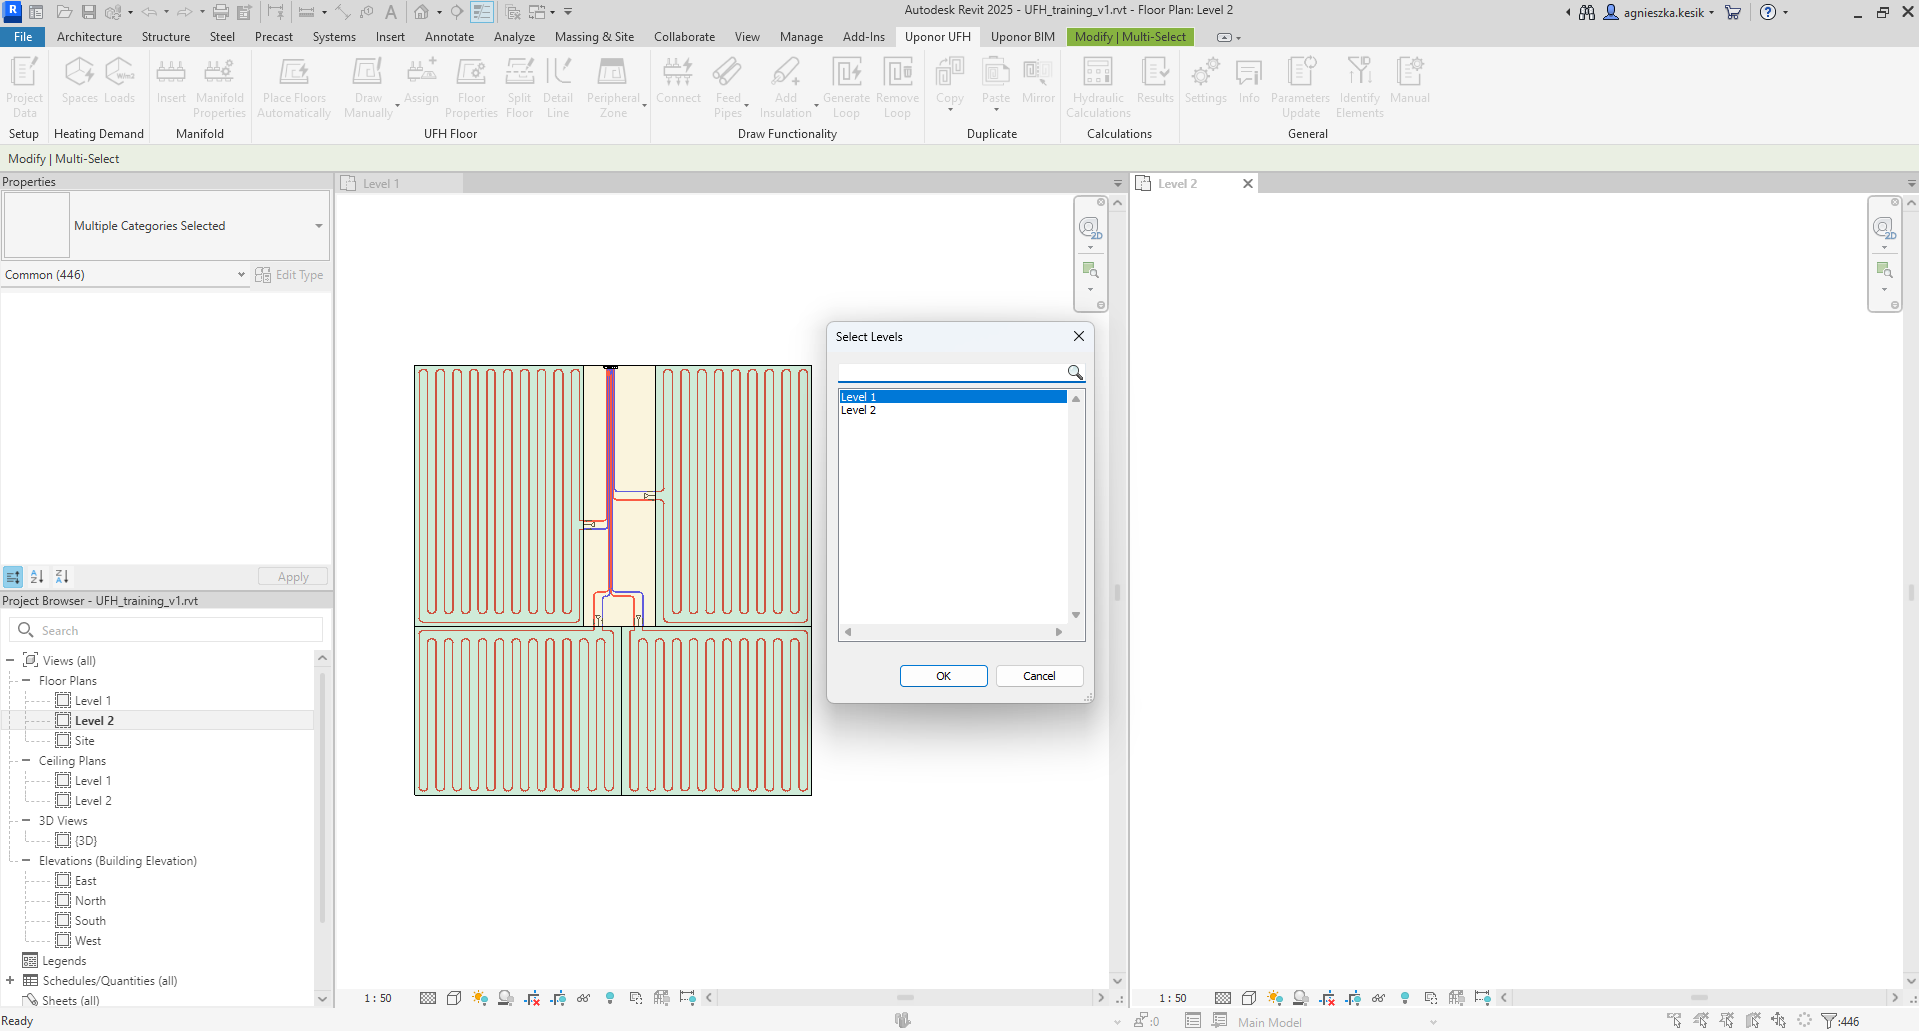
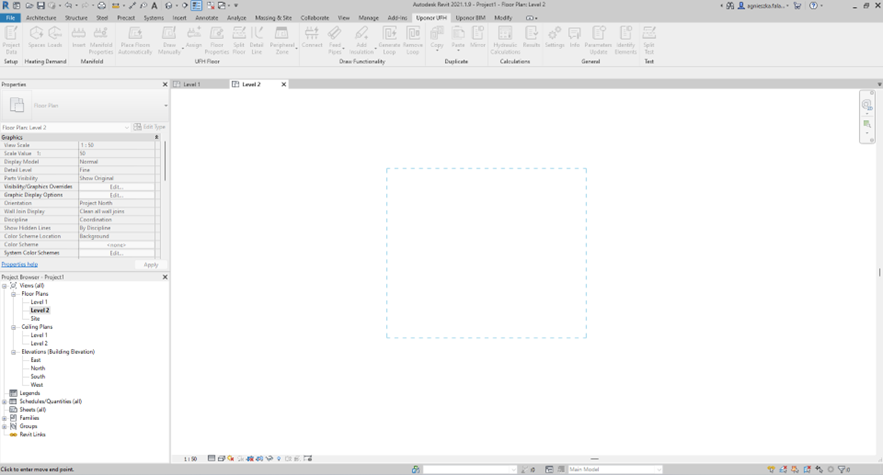
- Aligned to Current View – the user can open suitable view and paste copied elements to the accurate place.
-
Once the paste option is selected, the Rename Manifolds window will appear. There the user should enter the new unique name for manifolds.

-
The Show button presents the location of the newly created manifold in the model.

-
After clicking OK elements have been copied.