Add Insulation
Adding insulation to the pipe.

The user could use three functions: Insulate Pipes Inside Floor, Insulate Pipes Outside Floor and Split Pipes. To insulate the pipes the user can also use Revit native function Add Insulation.

Steps to Insulate Pipes Inside Floor
- Click on the Add Insulation and Insulate Pipes Inside Floor on the ribbon.
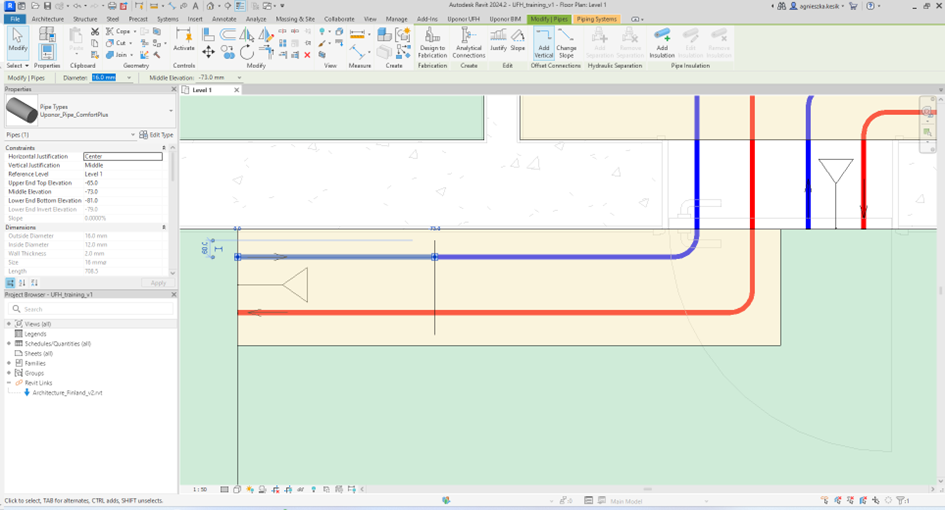
- Select the pipes that should be insulated.
-
Click finish on the ribbon.

-
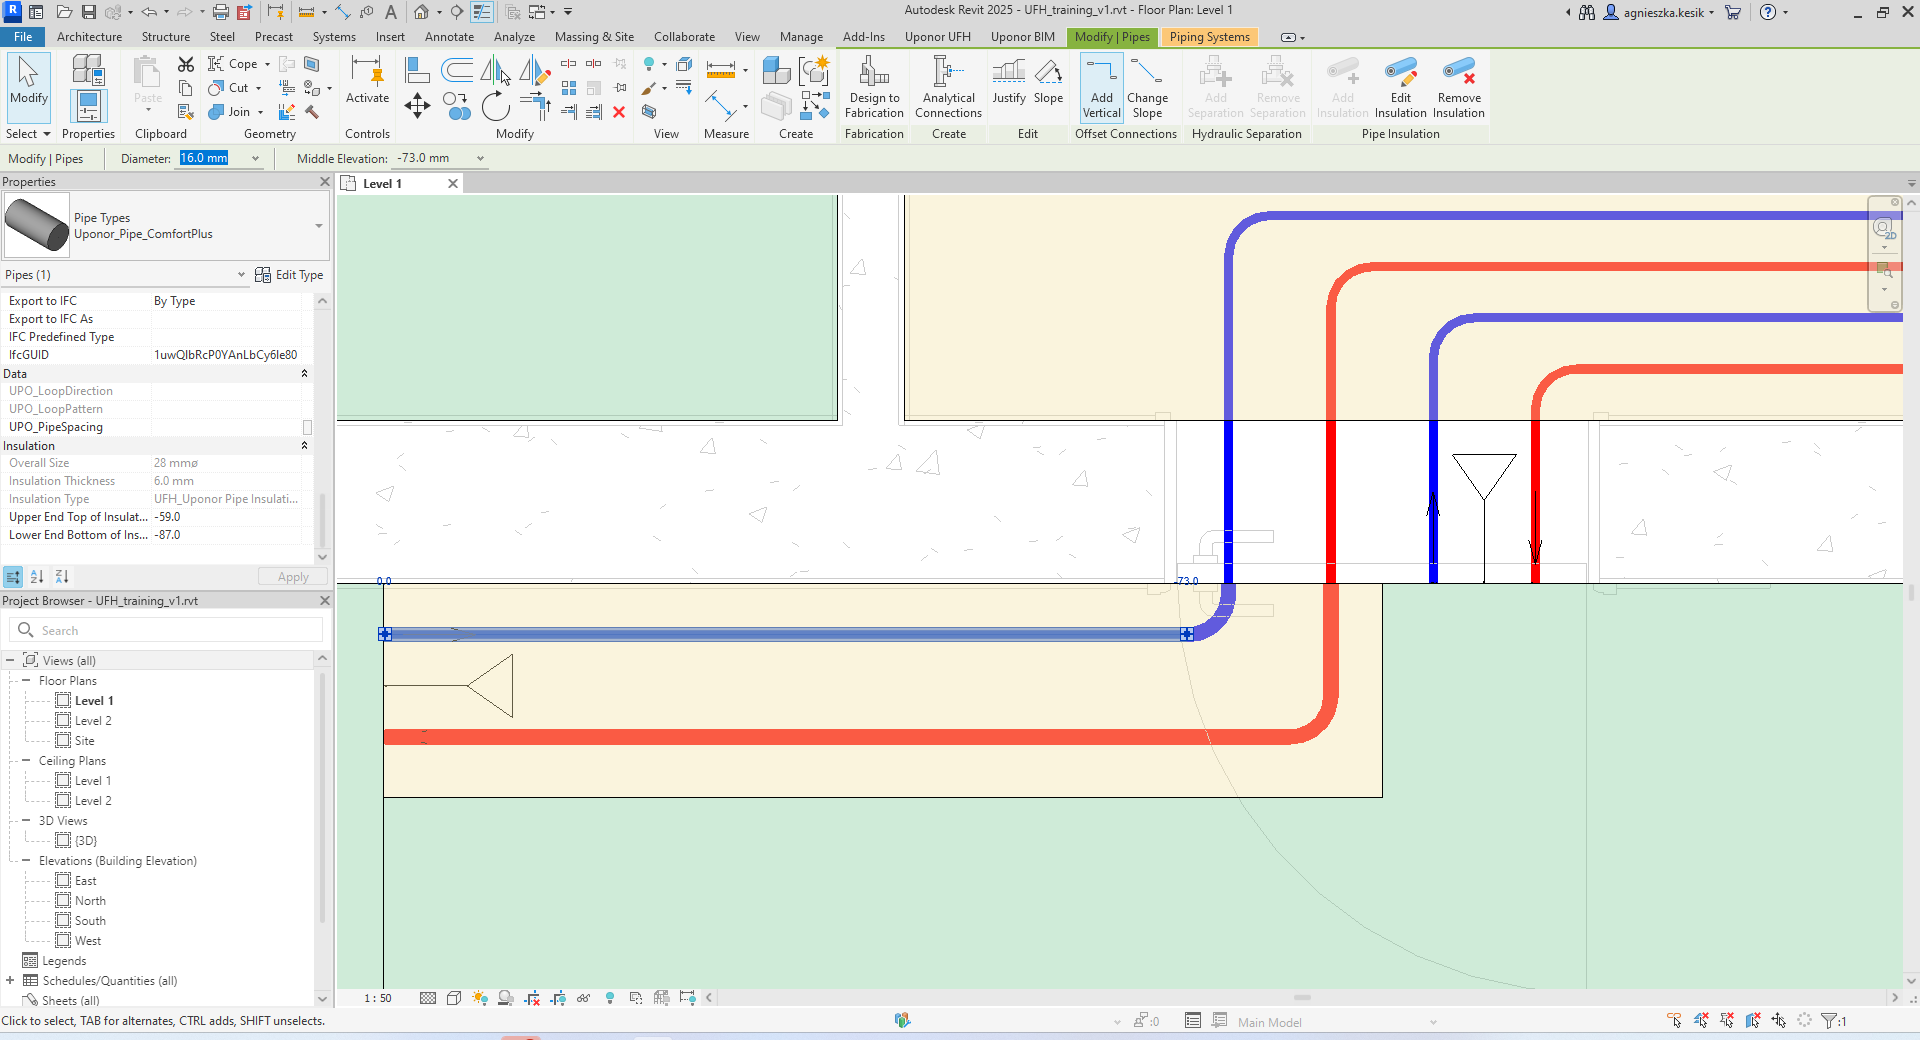
Select the floors through which pipes requiring insulation pass.
-
Click finish on the ribbon.

-
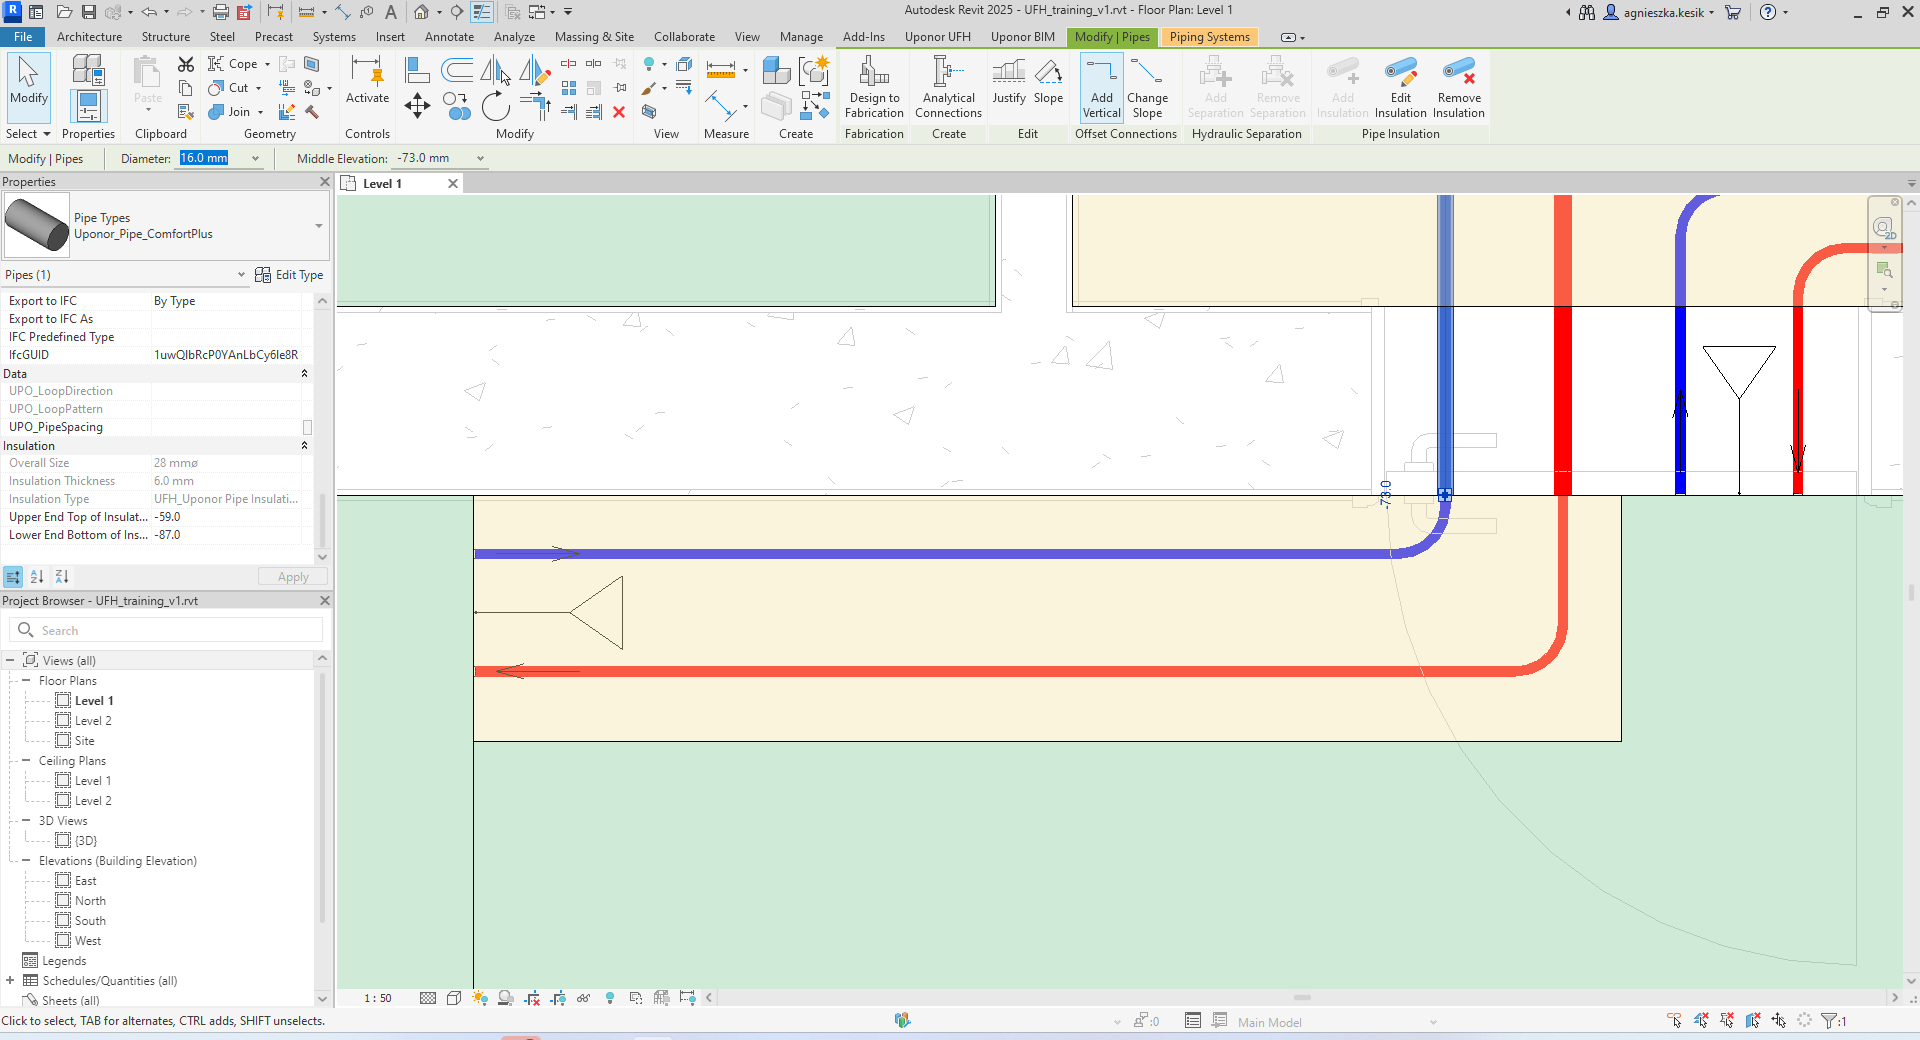
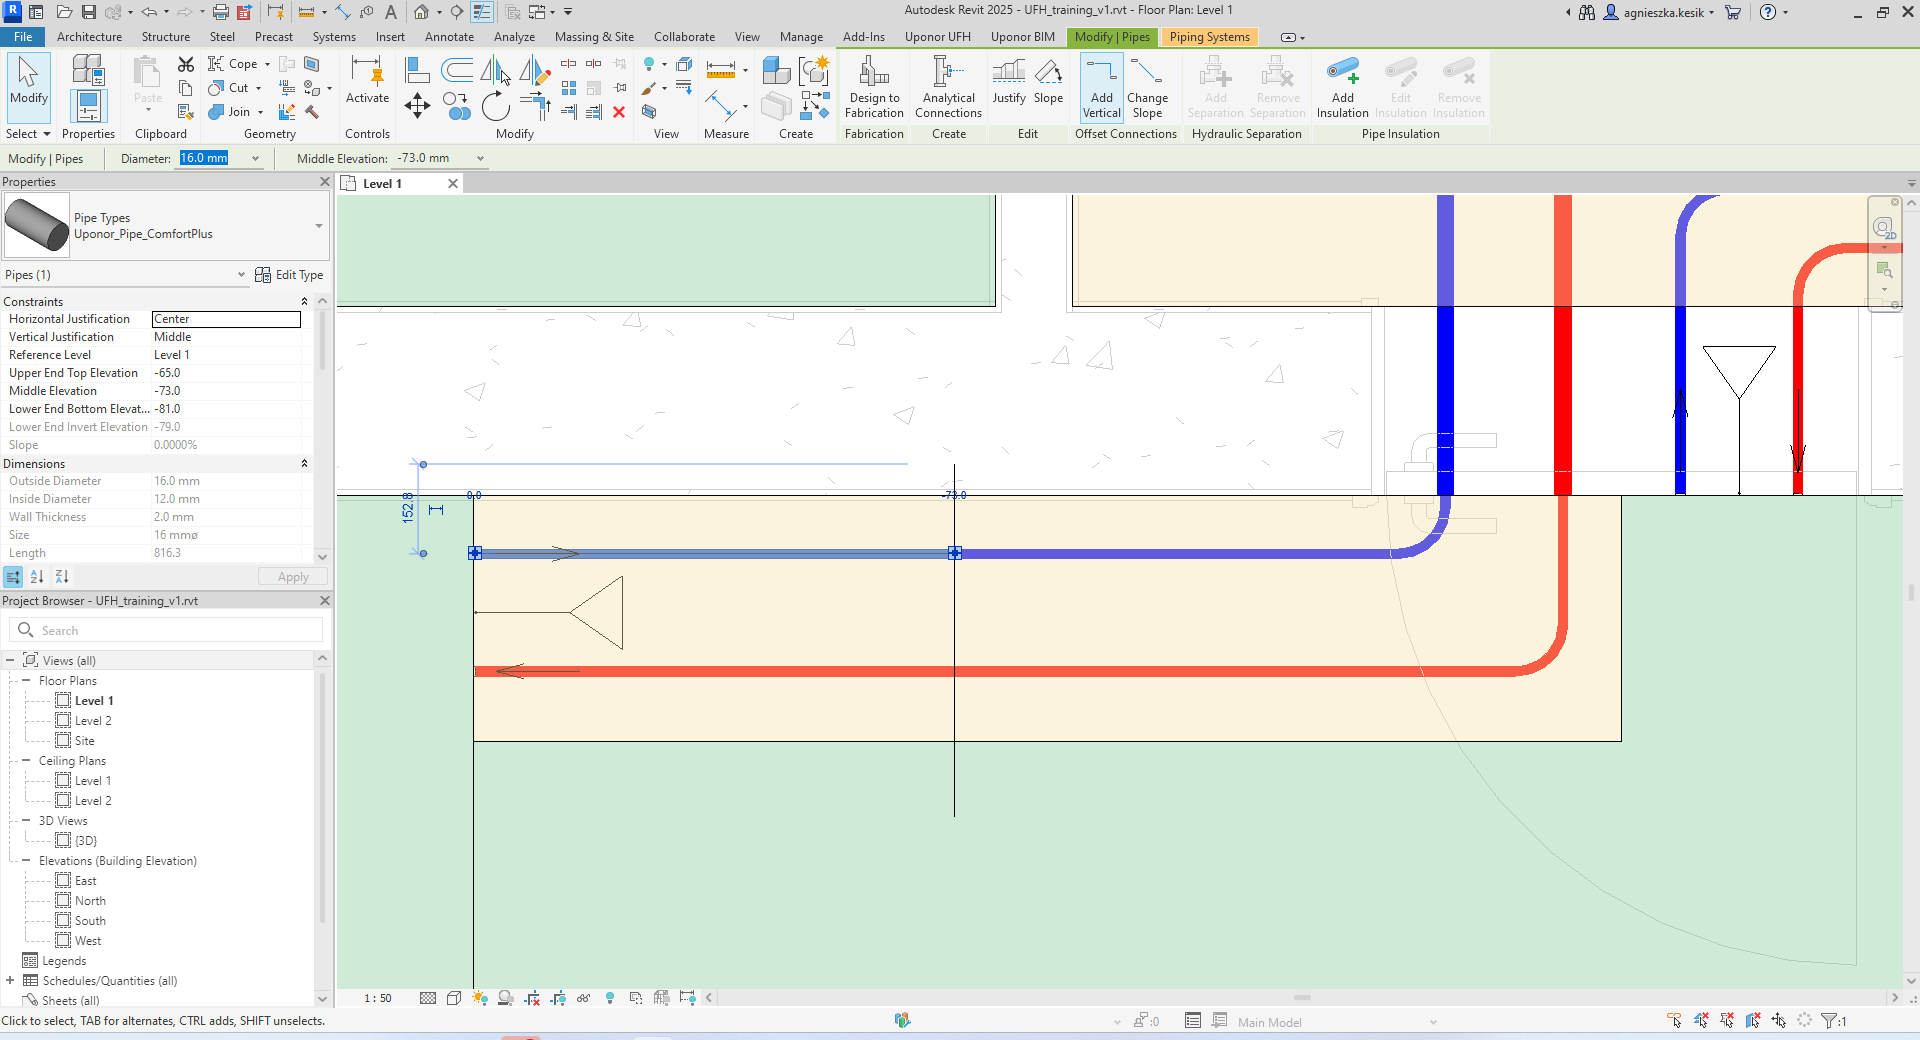
Insulation has been added.
Steps to Insulate Pipes Outside Floor
- Click on the Add Insulation and Insulate Pipes Outside Floor on the ribbon.
- Select the pipes that should be insulated.
-
Click finish on the ribbon.
-
Select the floors in which the selected pipes should not have insulation.
-
Click finish on the ribbon.
-
Insulation has been added.
Split Pipes
If insulation should be used only on a part of the pipe in the floor, the user could use Split Pipes function to separate fragments.
Steps to Split Pipes
-
Draw Detail Lines as a separator between insulated and not insulated pipe.
-
Click on the Add Insulation and Split Pipes on the ribbon.
-
Select pipes to split and click finish on the ribbon.
-
Select Detail lines as a separator between insulated and not insulated pipe and click finish on the ribbon.
-
The pipes are divided without additional fittings.