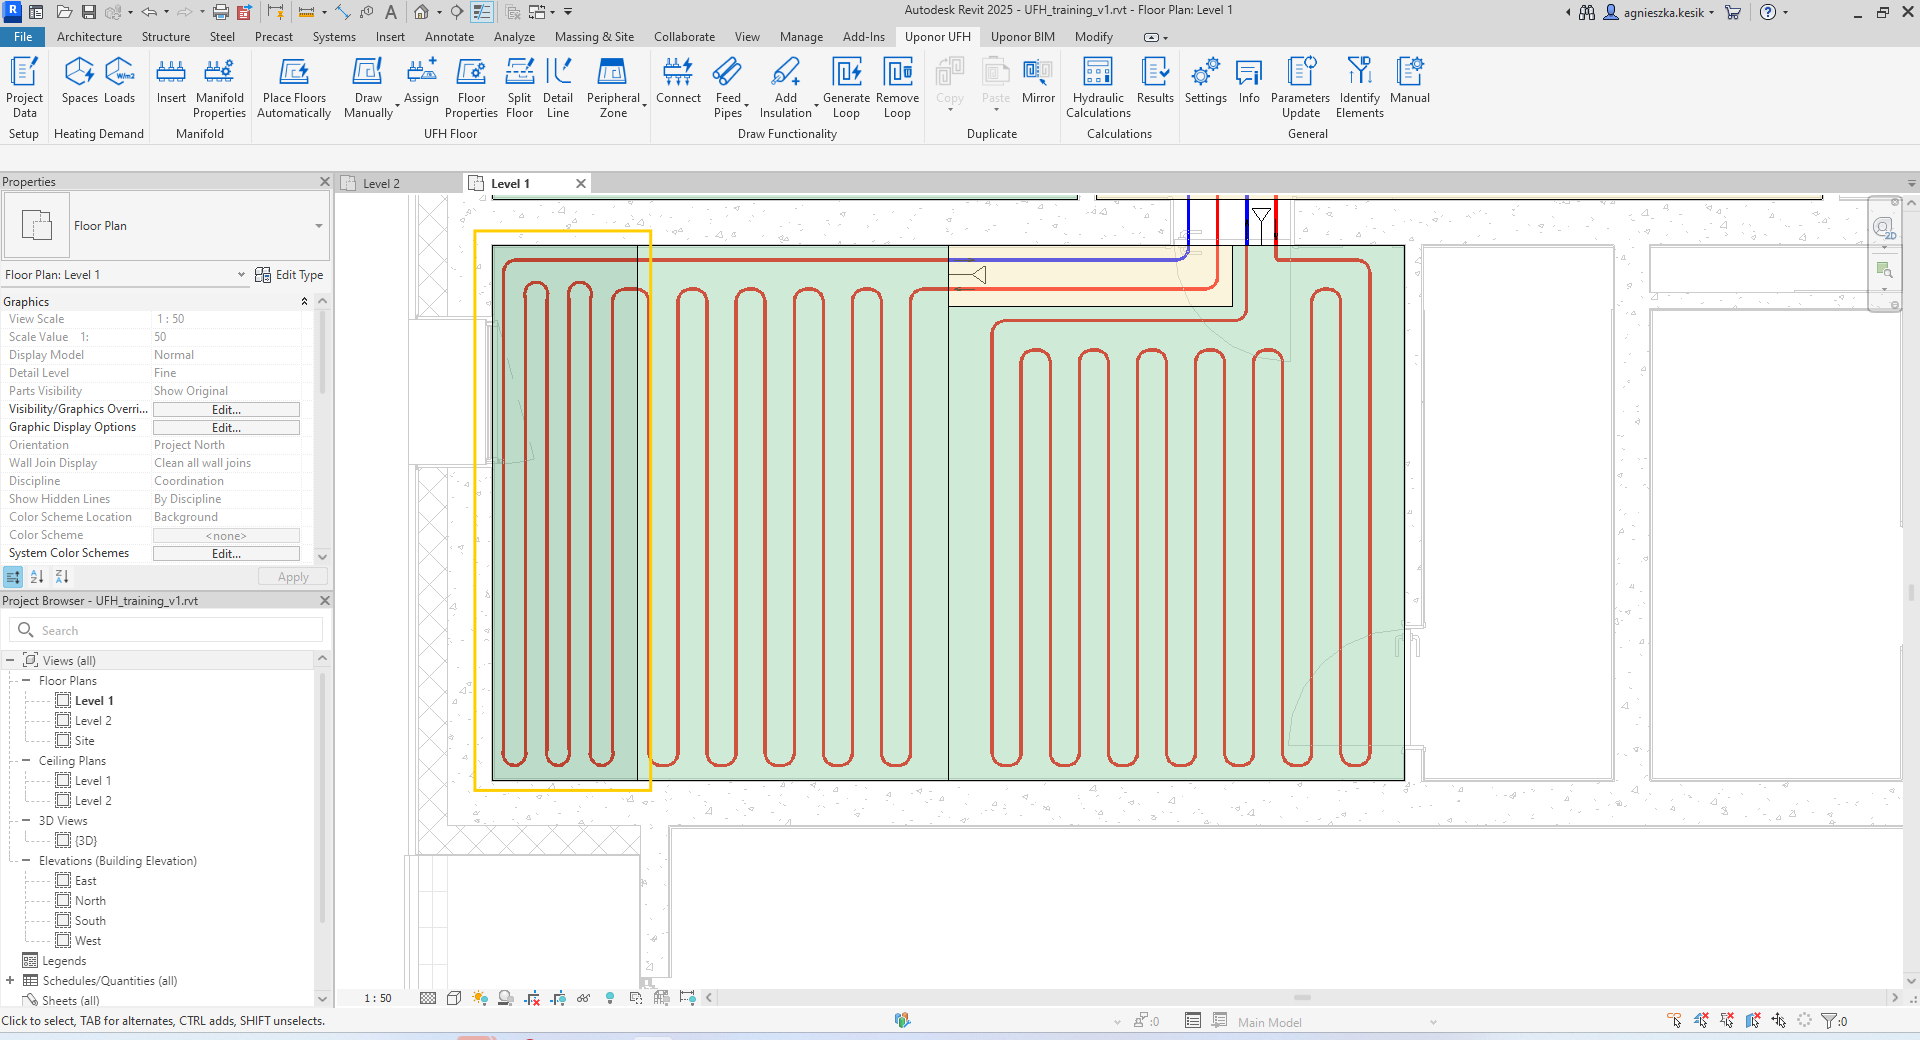
Place Floor Automatically
Automatically creates a floor assigned to space.

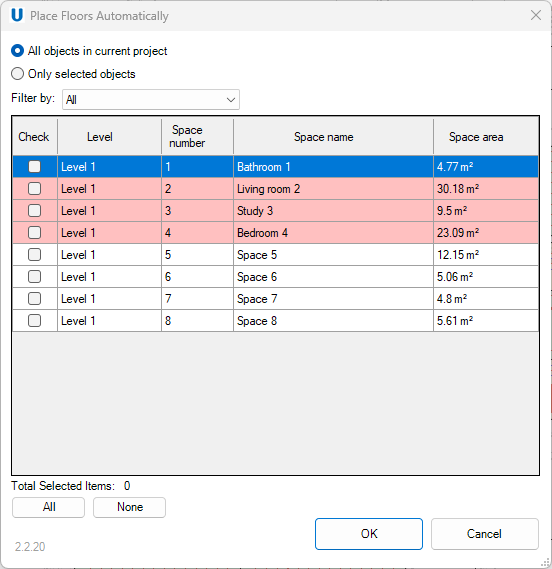
After clicking Place Floor Automatically function on the ribbon, the Place Floor Automatically window will appear. There is a possibility to create a floor for each space separately or for all existing spaces on the drawing. Using the check all or check none buttons, the user can quickly make a selection.
Visibility of spaces on the list
- All objects in current project – if checked, all spaces existing in the model will appear on the list.
- Only selected objects – if checked, all selected spaces in the model will appear on the list.
- Filter by – helps to filter spaces by levels.

Thanks to the checkbox on the left, the user is able to select spaces in which floors should be automatically generated. After selecting space and clicking OK, the floors will be generated automatically and assigned to the appropriate spaces. When red rows appear in the list of spaces, it means that floors have already been created and assigned to the space.
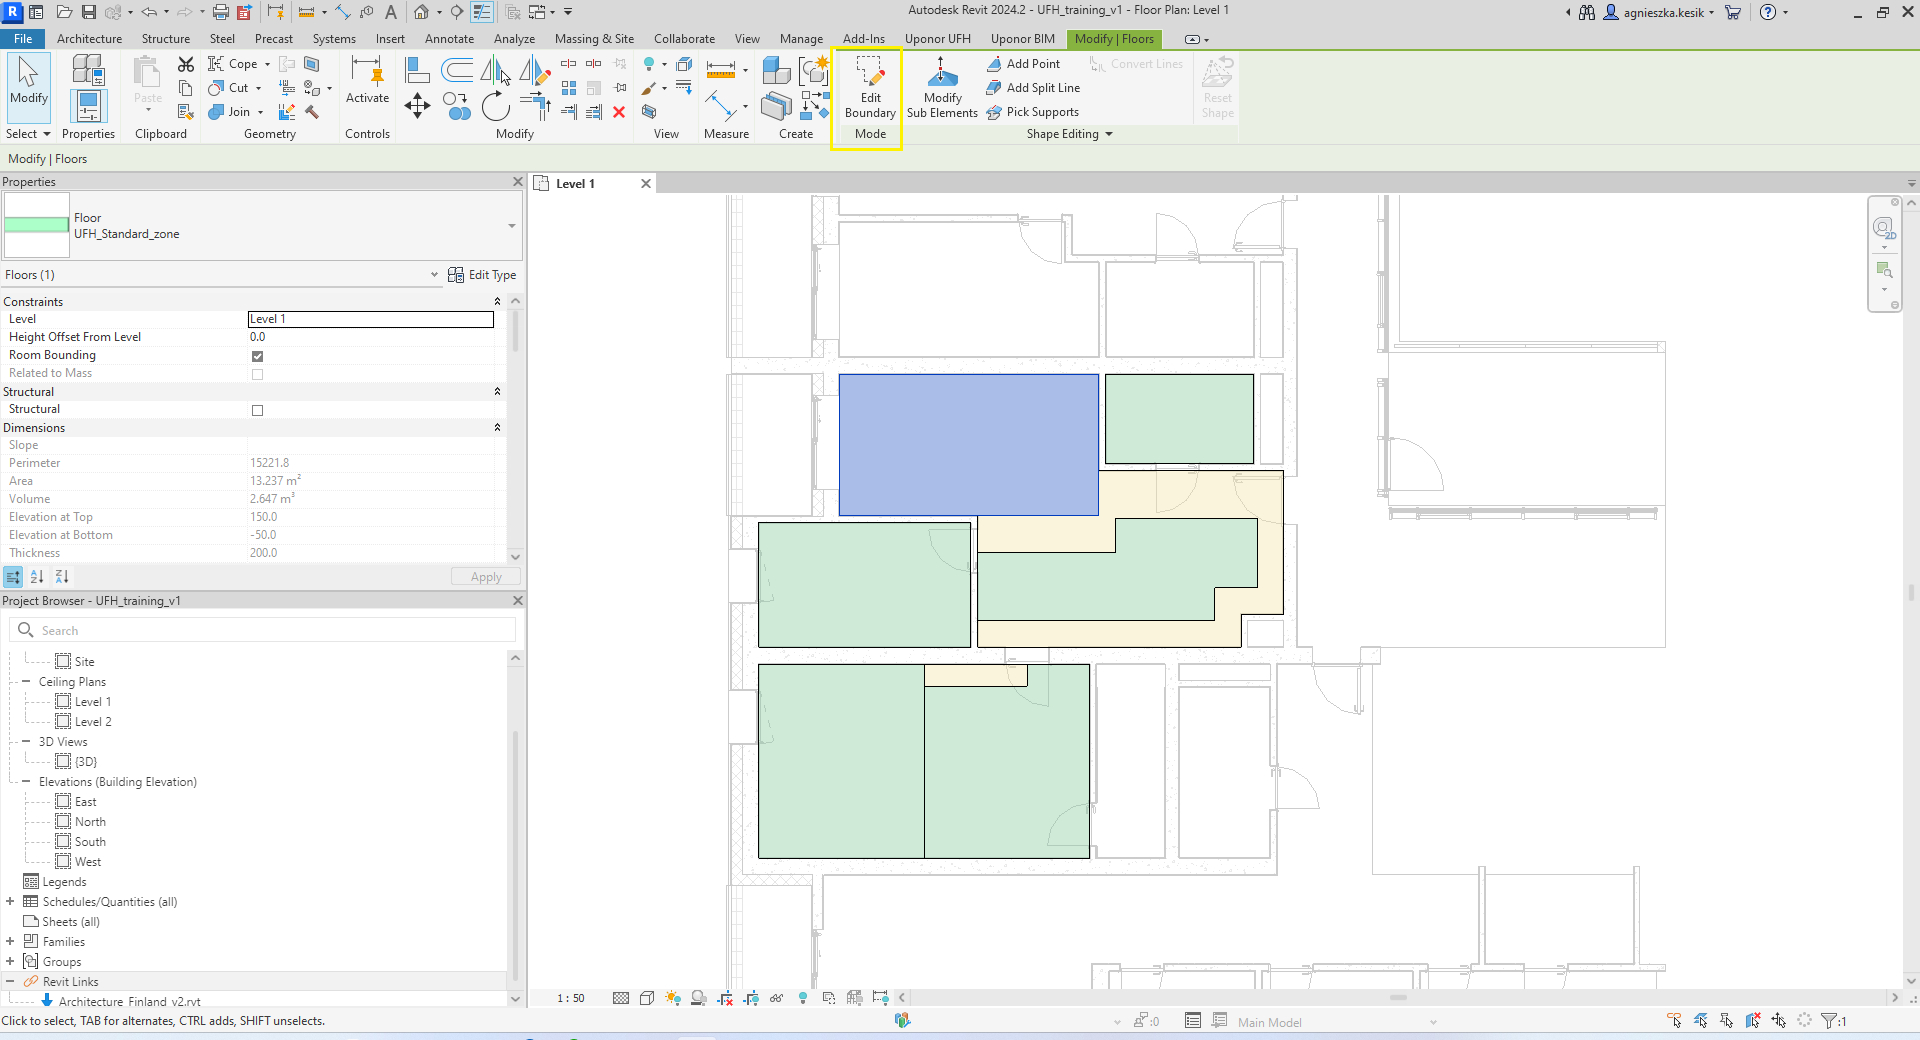
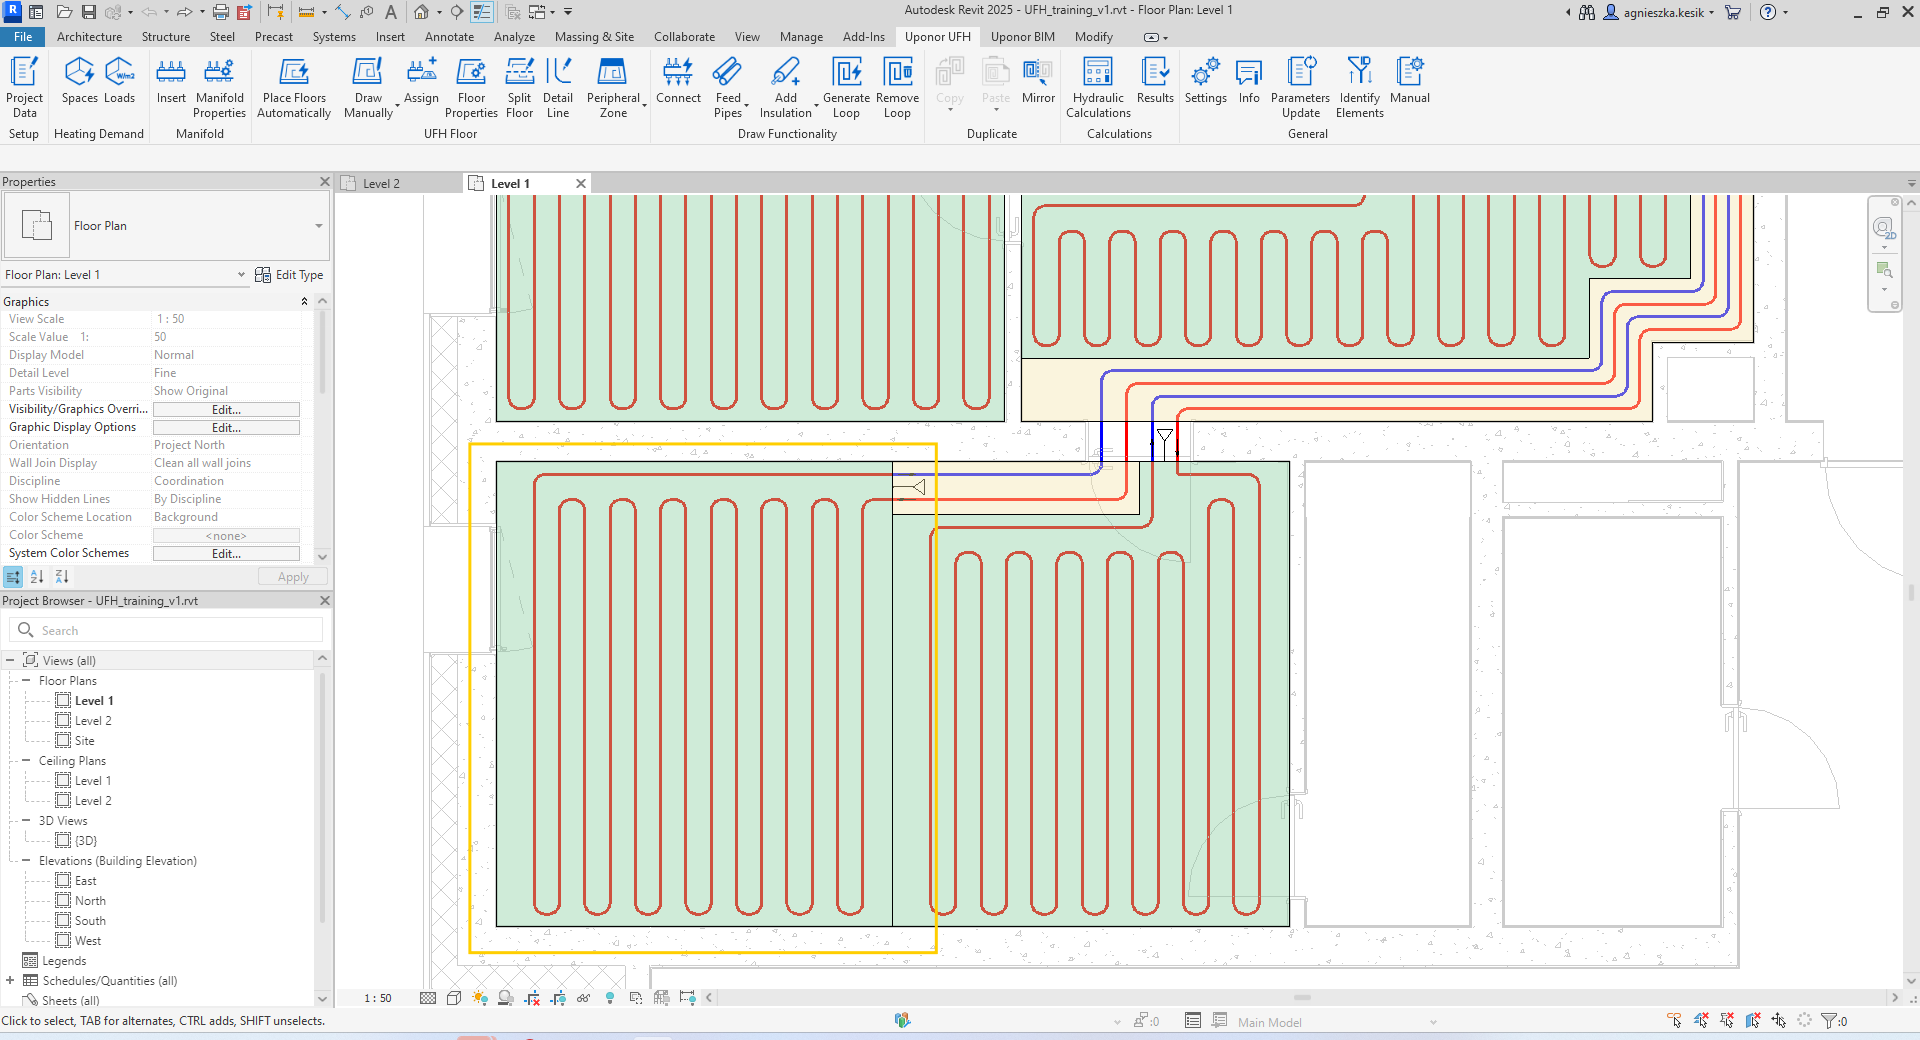
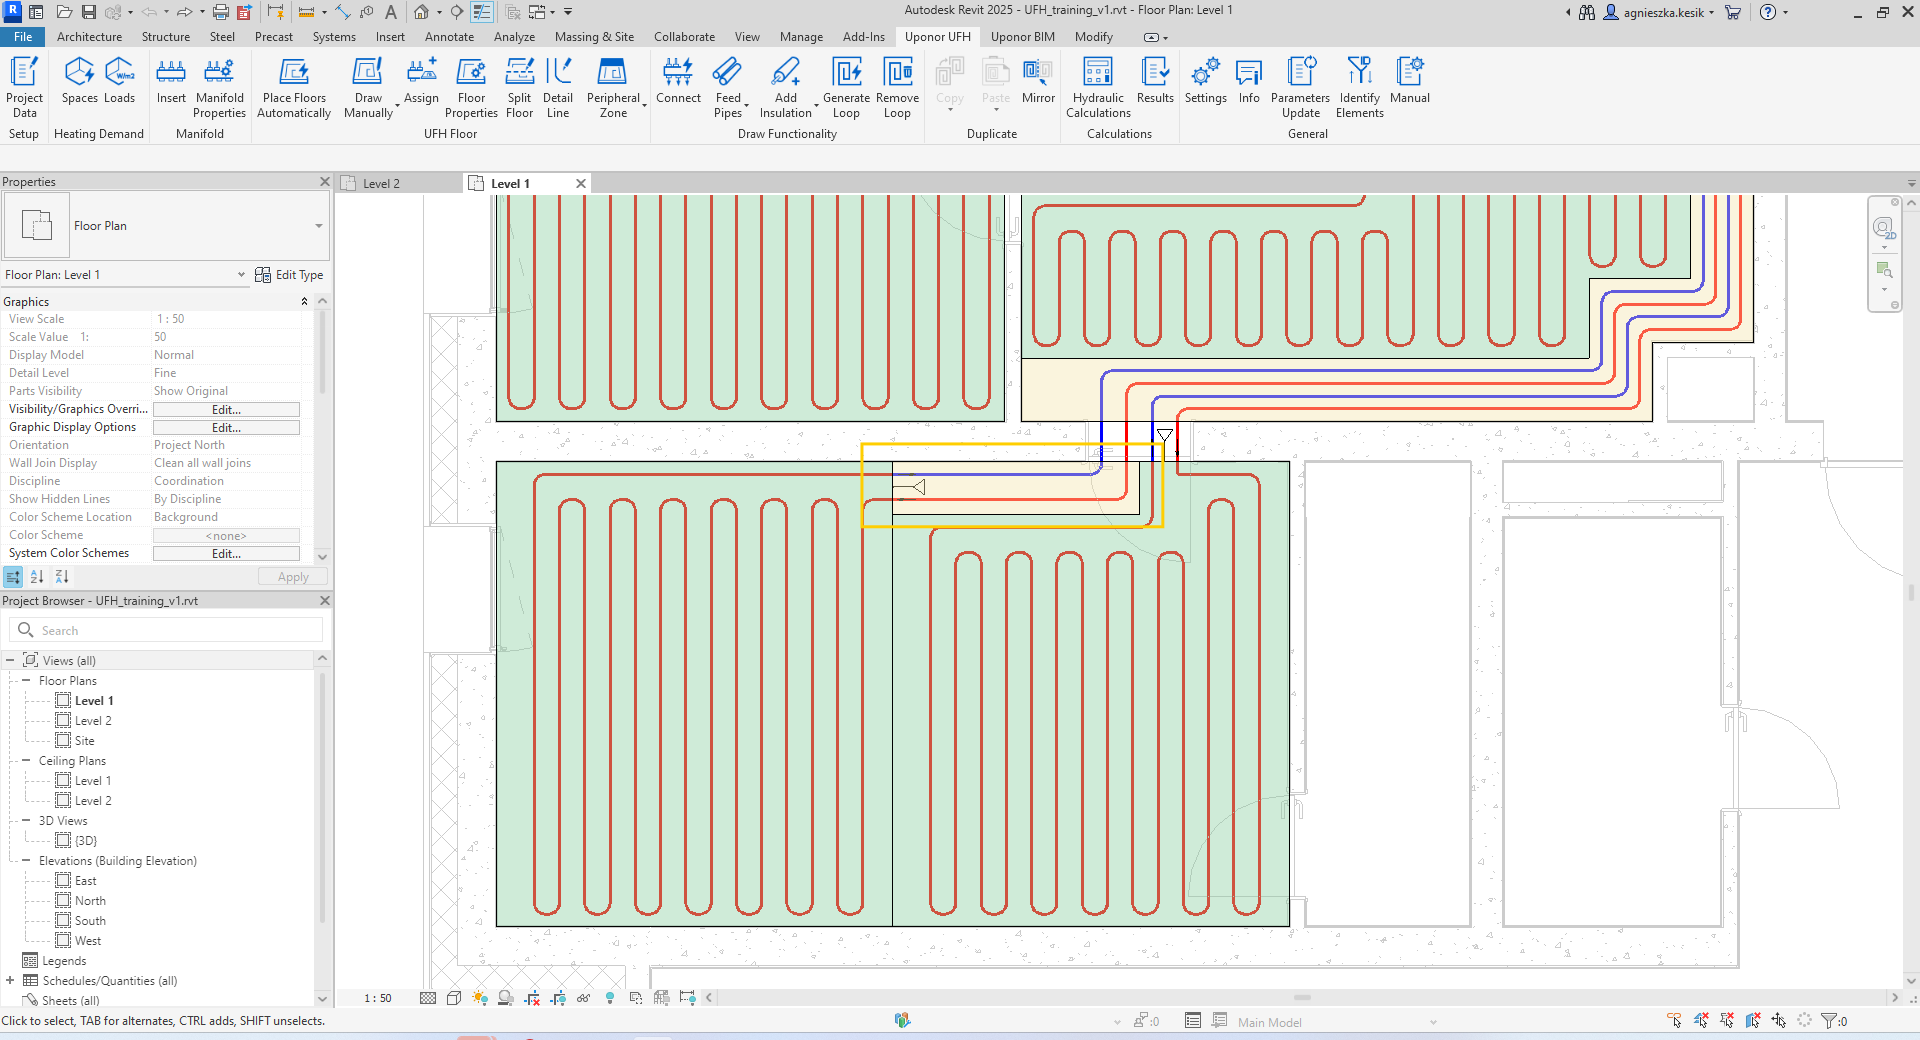
After the floor is automatically generated, it is always possible to modify its shape. To do this, the user should firstly select the floor and click Edit boundary on the ribbon.
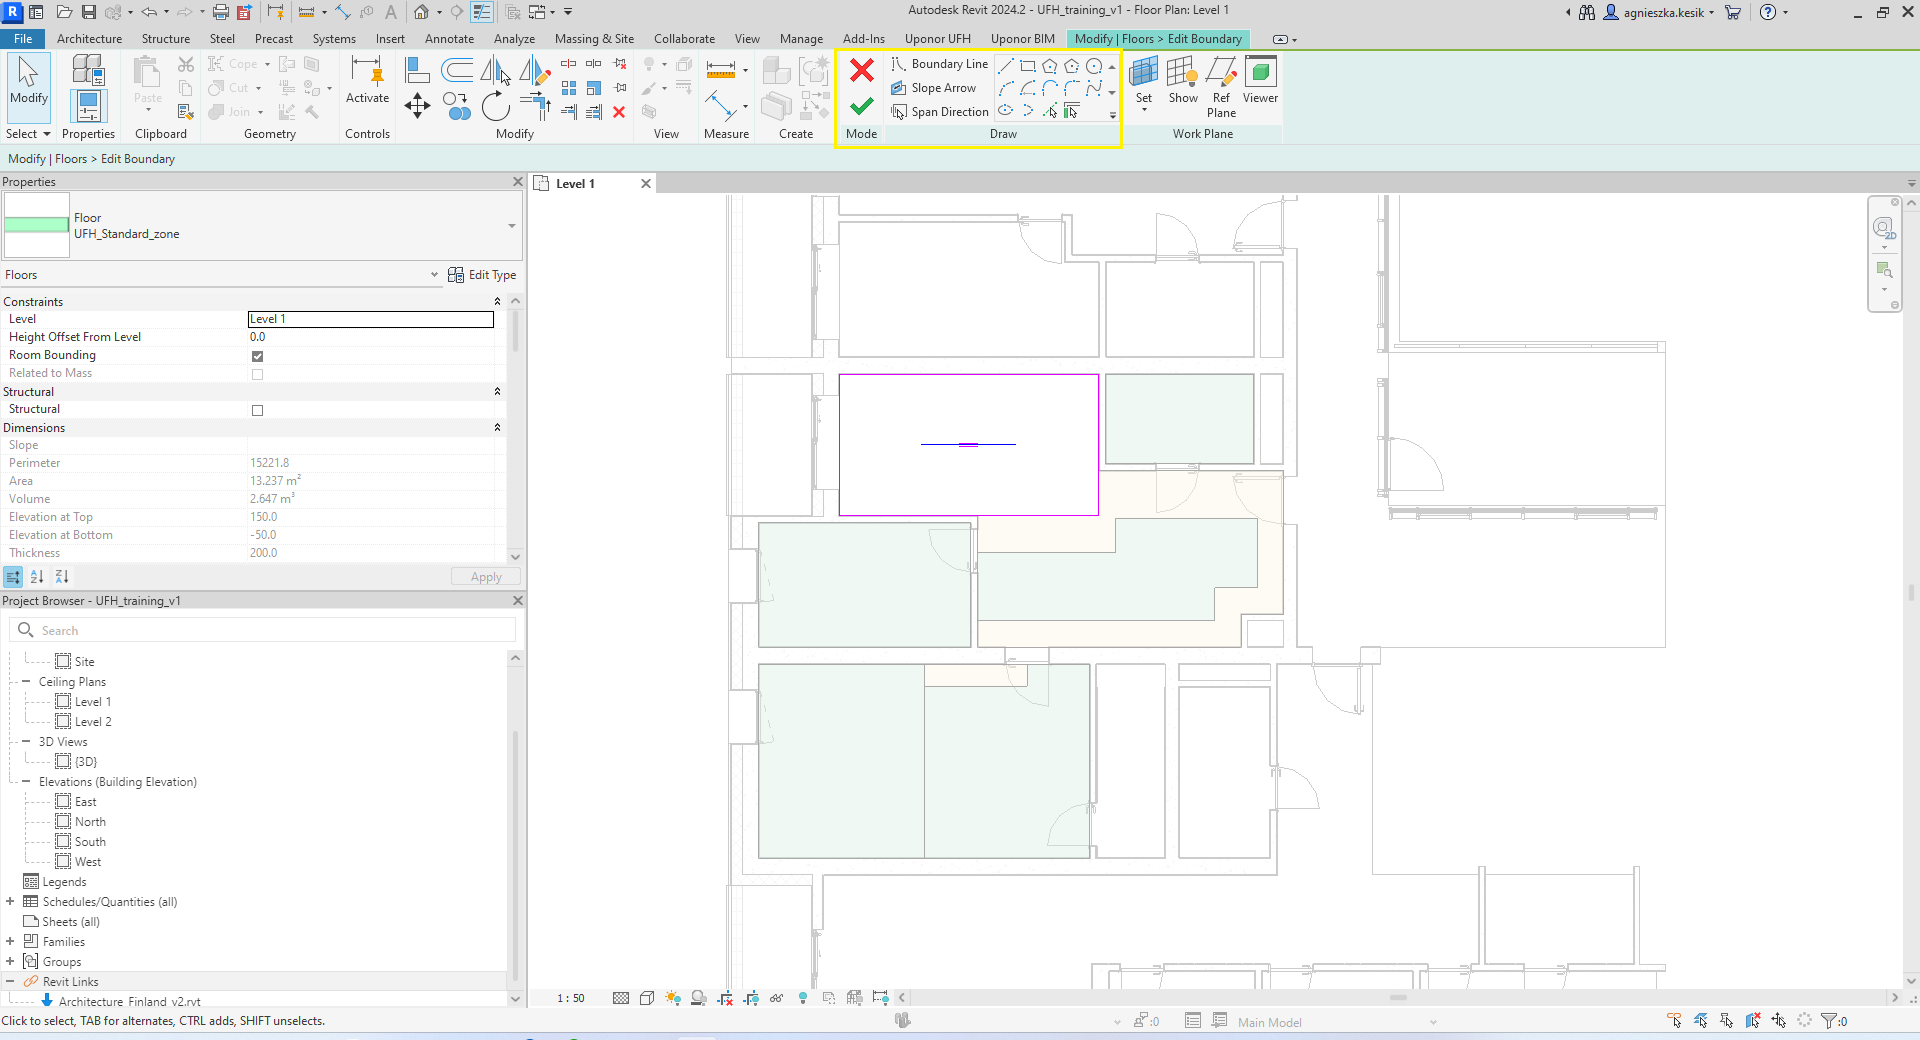
Then, user could modify the shape of the floor by moving its edges or creating new boundary lines using functions in the modify mode. To complete the modification of the floor shape, the user should accept the changes using the green check or reject them by selecting the red cross.
Types of floor
There are three types of floors in the plugin:
- UFH_Standard_zone – the floor in which the loop is generated. To this type of floor a connector should be assigned.
- UFH_Feedpipes_zone – the floor through which feed pipes pass.
- UFH_Peripheral_zone – the floor in a part of the room where greater heat output is necessary.